Friday, April 30, 2010

Monday, April 12, 2010
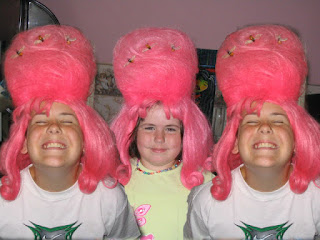
Hubba, hubba =)

My wife was feeling generous (and loving her new hair cut) so she posed for a couple quick shots!! I was really please with both of these because this IS her natural smile and the 'mirth' in her eyes is ALL HER!! =) The downside was the location (the day outside was still very dull and gray) which was simply snapped inside my home...I would have rather taken this photos on a tropical Caribbean location-LOL! Photos were edited for lighting, saturation, and level balance.
Below I used the B&W filter and soft glow effect to change the 'vibe' a little more...


Like many others, this week turned out to be very fun!
Murph =)
Friday, April 9, 2010
Portrait photos and props...

Who doesn't love a wax museum?? Last week my wife and I were in Dublin (but you all knew that right?) and we took in the National Wax Museum. I took the liberty of making her pose for me in the various props in anticipation of this weeks assignment. As I mentioned on the discussion board I dread the portrait shot, but somehow when working portraits from a "let's have fun with props" aspect, I don't feel as much pressure to "do it right". I find myself having more fun with the photos and the moment and less compelled to be worried about how it will turn out! The above photo I used the prop, flash fill, and filled the screen with the whole image (the wax museum is dreadfully dark and is hard to get strong photos in). I brought the image back home and gave it a "tune up" in photoshop before plating it here for your visual review!
Below, my wife meets with the Heads of State from England and Ireland and participates in signing their version of a "peace accord". I had to flash fill this photo and try my best to balance the composition in the dark. I also wanted to give her room to look in a different direction to draw the eye around the photo (and obviously to her right). Again the setting is very dark so I edited it in photoshop to adjust lighting, levels, and saturation. I did not have anything to do with the prop failure in the photo =).


This one was done mostly just for fun and gave me a chance to put her in the stockade! Don't we all belong in the stockade once in a while?? =) Image edited in photoshop (levels, lighting, saturation, the "usual suspects...).
Murph =)


Thursday, April 1, 2010
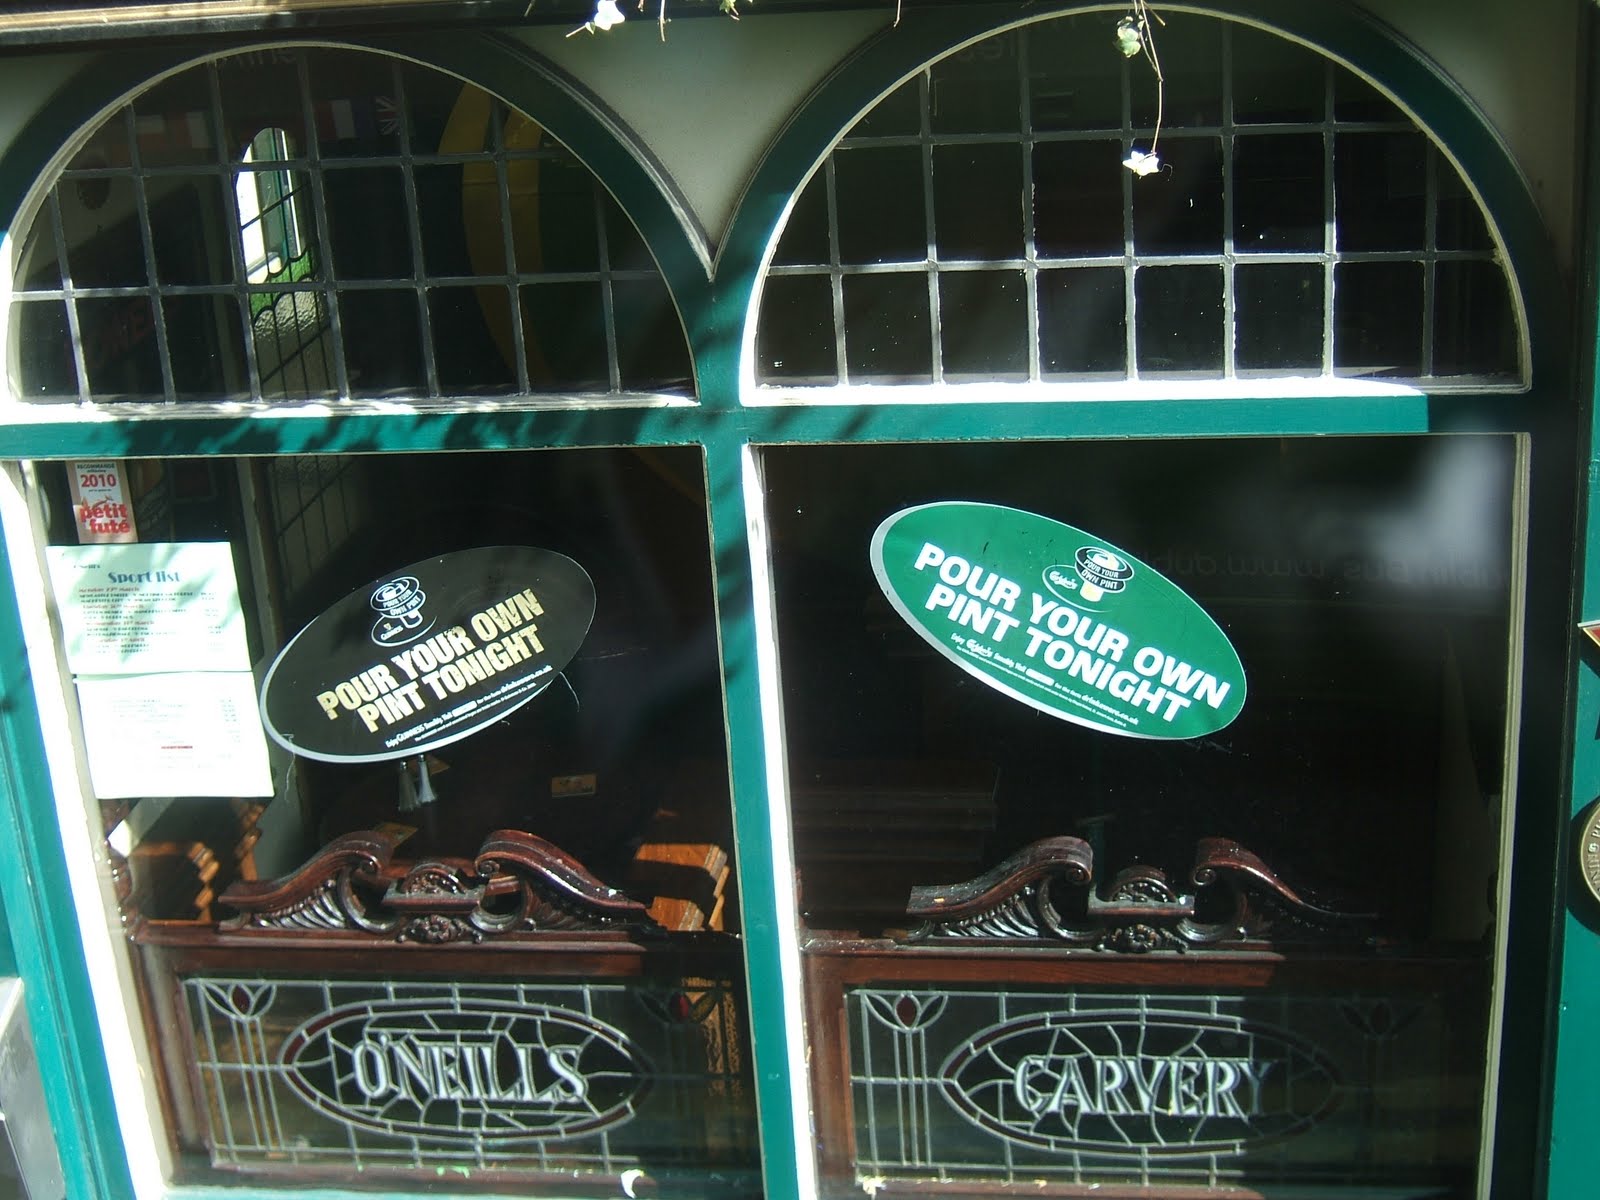
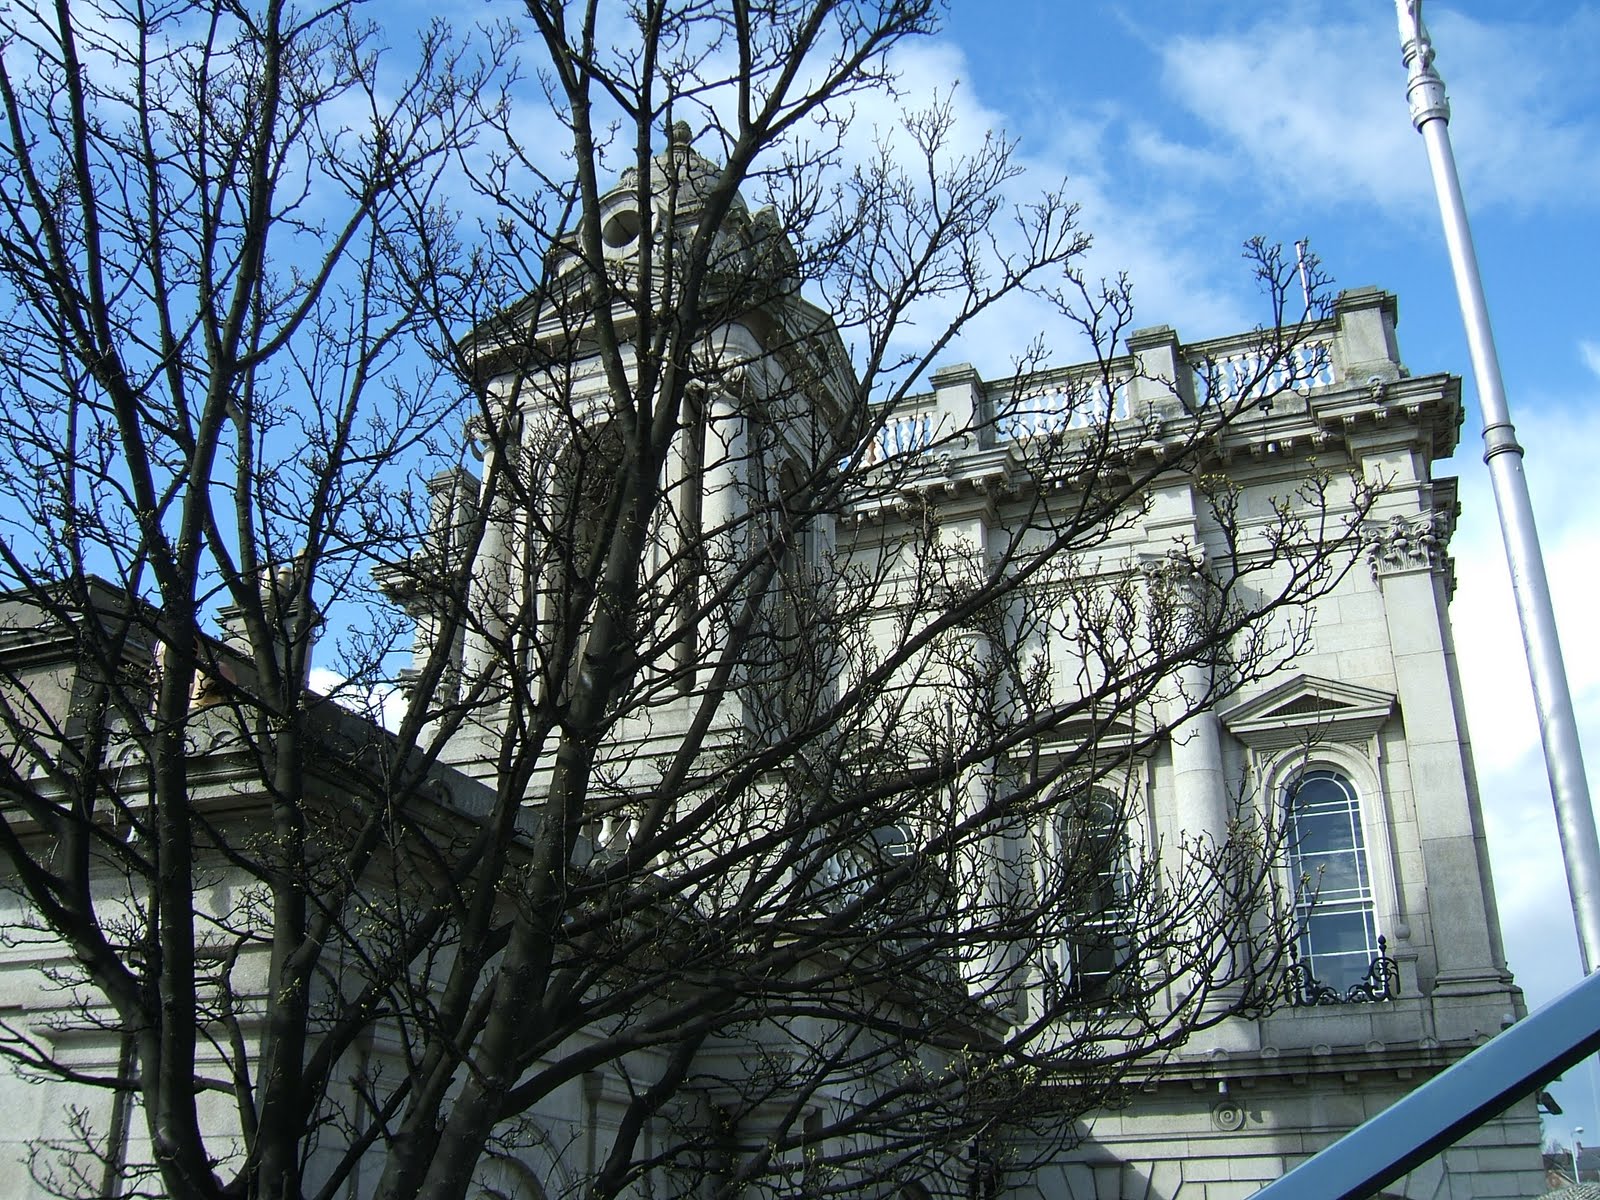
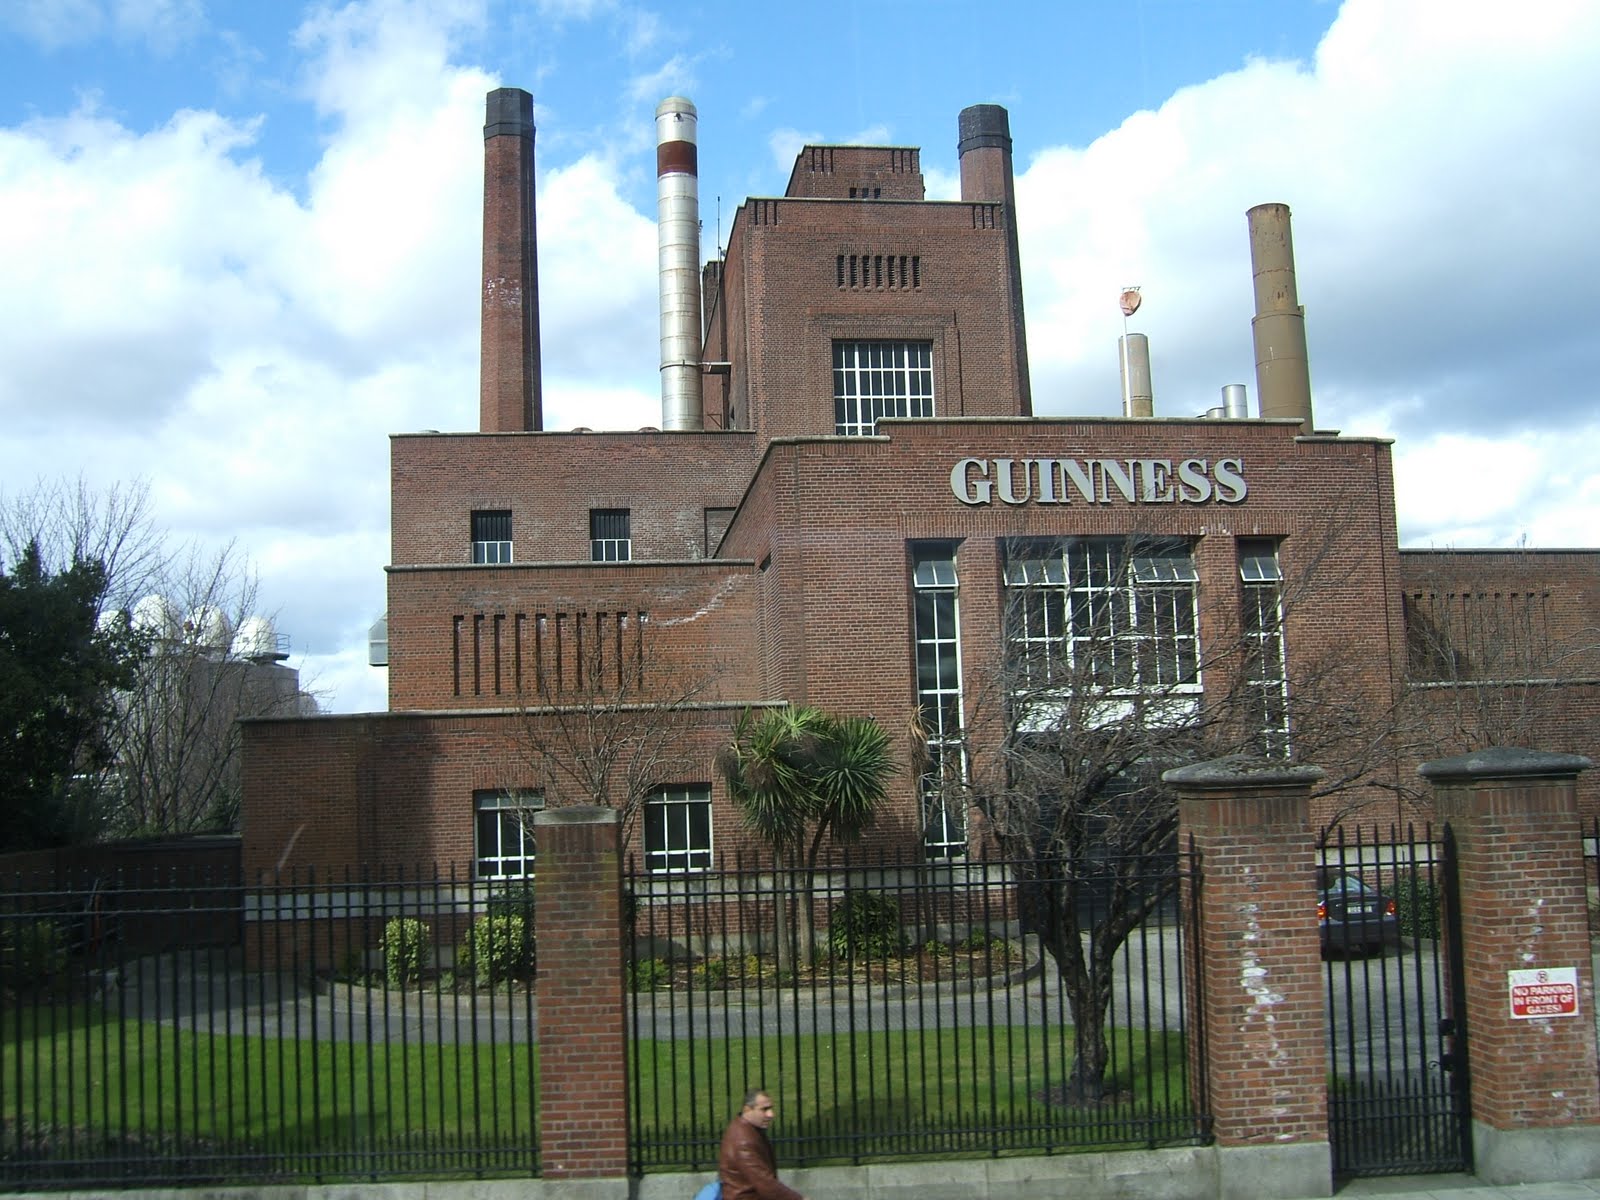
More of the day in Dublin...

There are SO many people here in Dublin...this photo gives you just a small glimpse at how many people can cram onto one sidewalk...
Doesn't this picture tell it all...(Love it!)

A different way of looking at old architecture...very euro-esque!
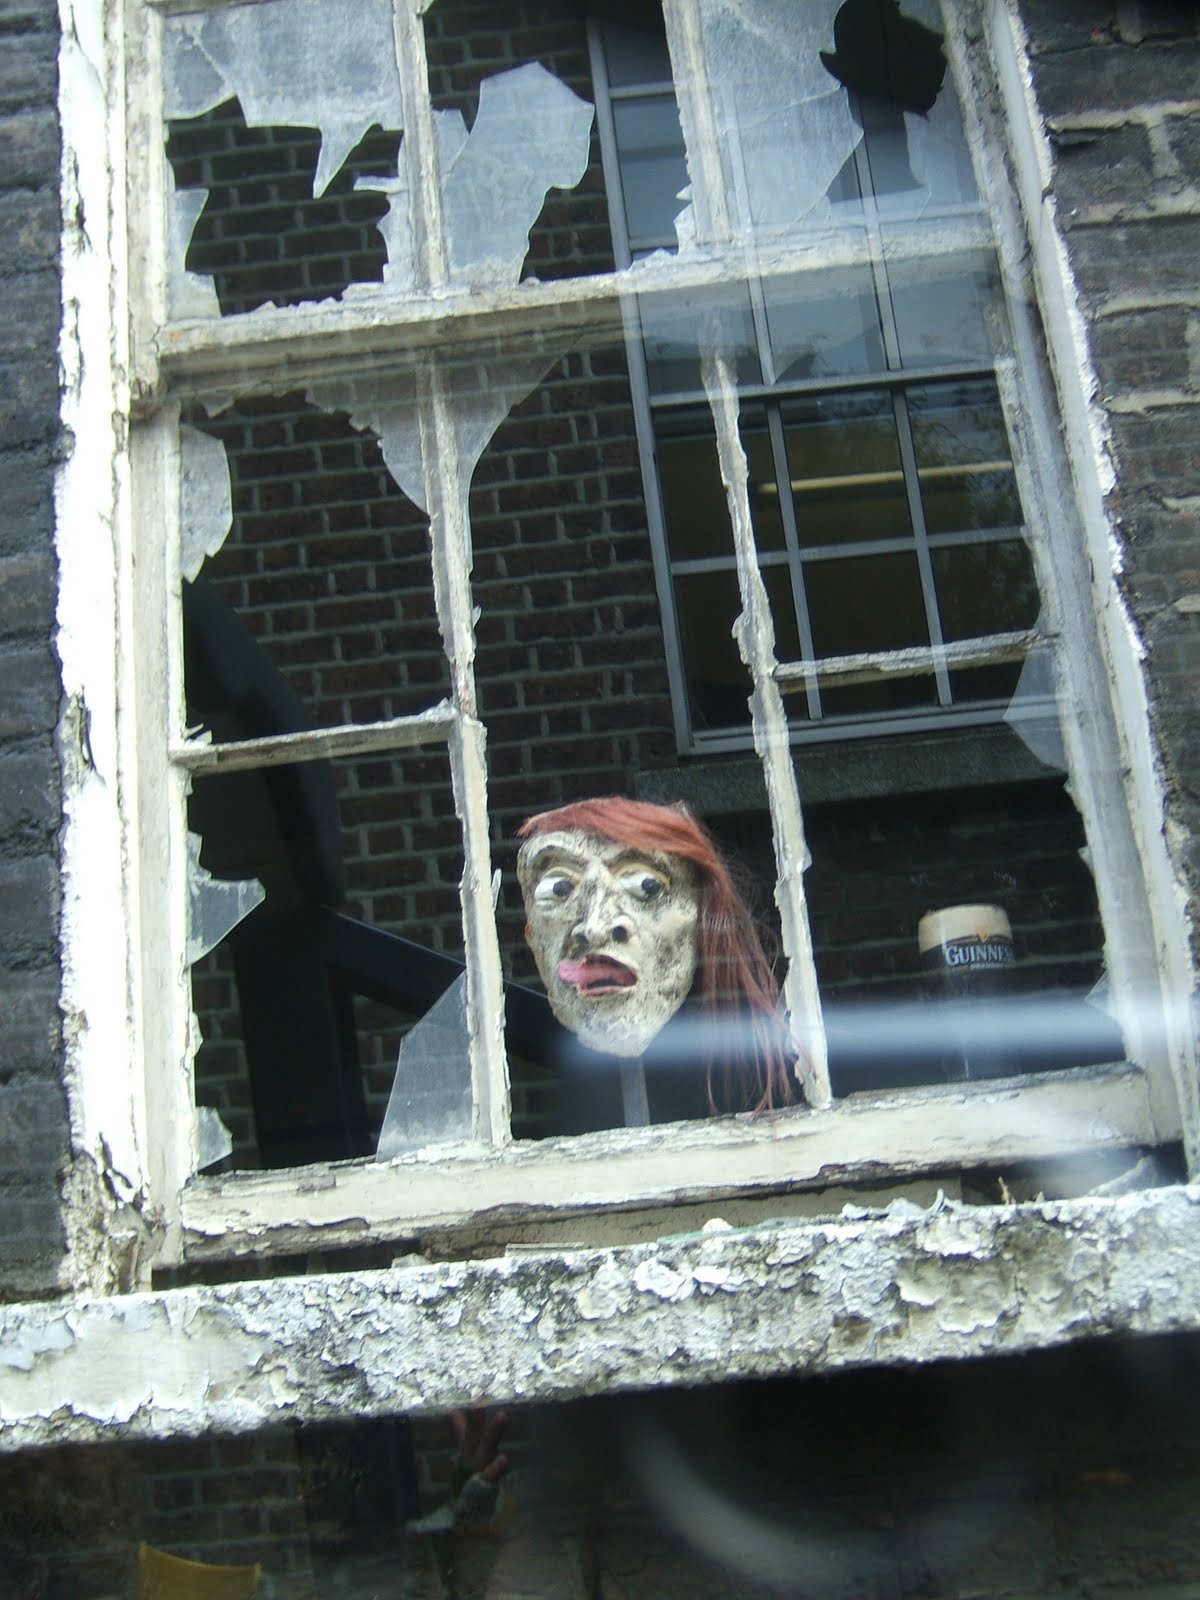
These my wife took! The face and the pint of Guinness were "floating" in the old abandoned building as our bus drove by...Irish ghost?
Below...the 'money shot'! I think I'll keep her... =)

Still raw and unedited...but so wonderful!
Murph


Monday, March 29, 2010
After? (Clone stamp, text)...
Hey! It worked!! (took all bloody day to post...grumble...whine...complain)
Oh well...the work was fun!
Murph =)
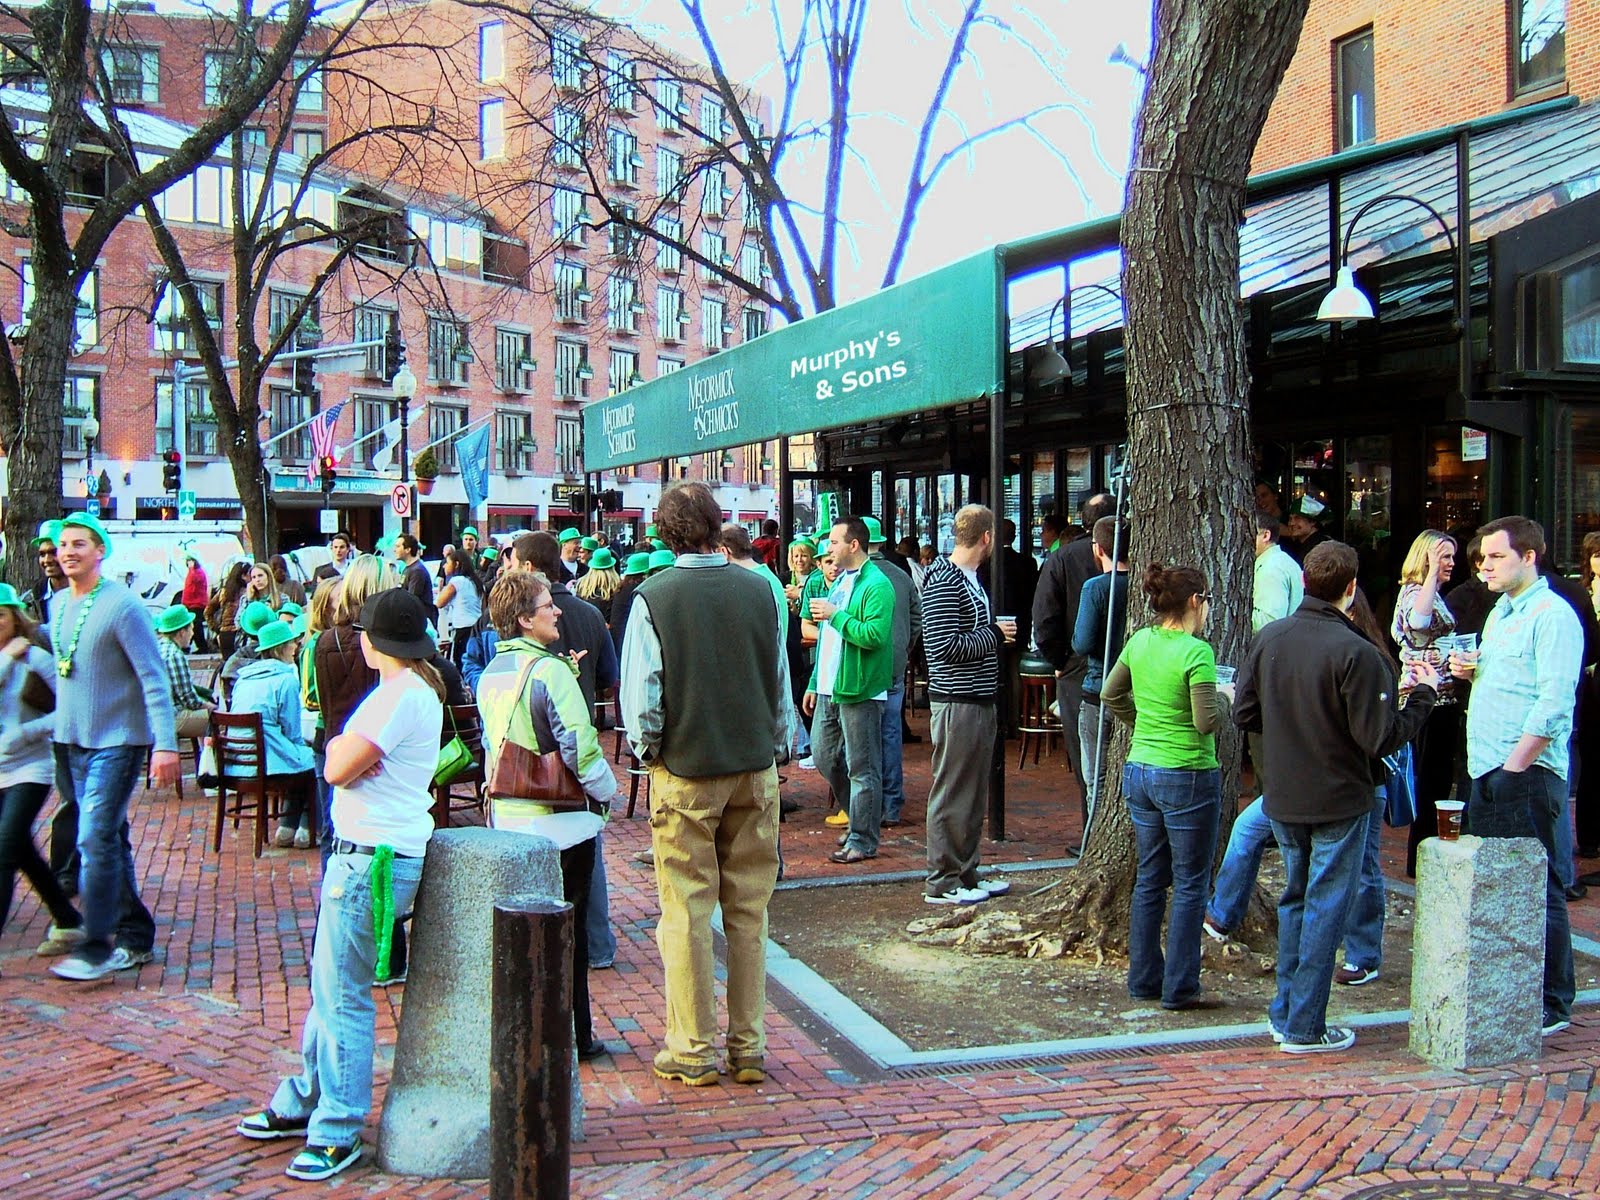
Problems with uploading photos...
.jpg)
I'm trying to piece together my posting of my clone stamp work and adding text to a photo work...the system has been down off and on all day and it's starting to make me mad!! >)
So here is the before photo...taken on St. Paddy's day in Boston. If I can get my after picture to post look for the following changes:
Color/brightness/saturation adjusted (although I think a little to far with the saturation...you'll see)
The post in the lower right corner has a green derby on it now...test your eyes after (clone stamp and blending work...whew)!
The signage above everyone's head...look at the added sign (clone stamp, blending, adding text, modifying shape and demensions).
Hopefully I can get the after picture up soon...it took some real work time so I am proud of the fun work I did!
Murph
More fun with filters...
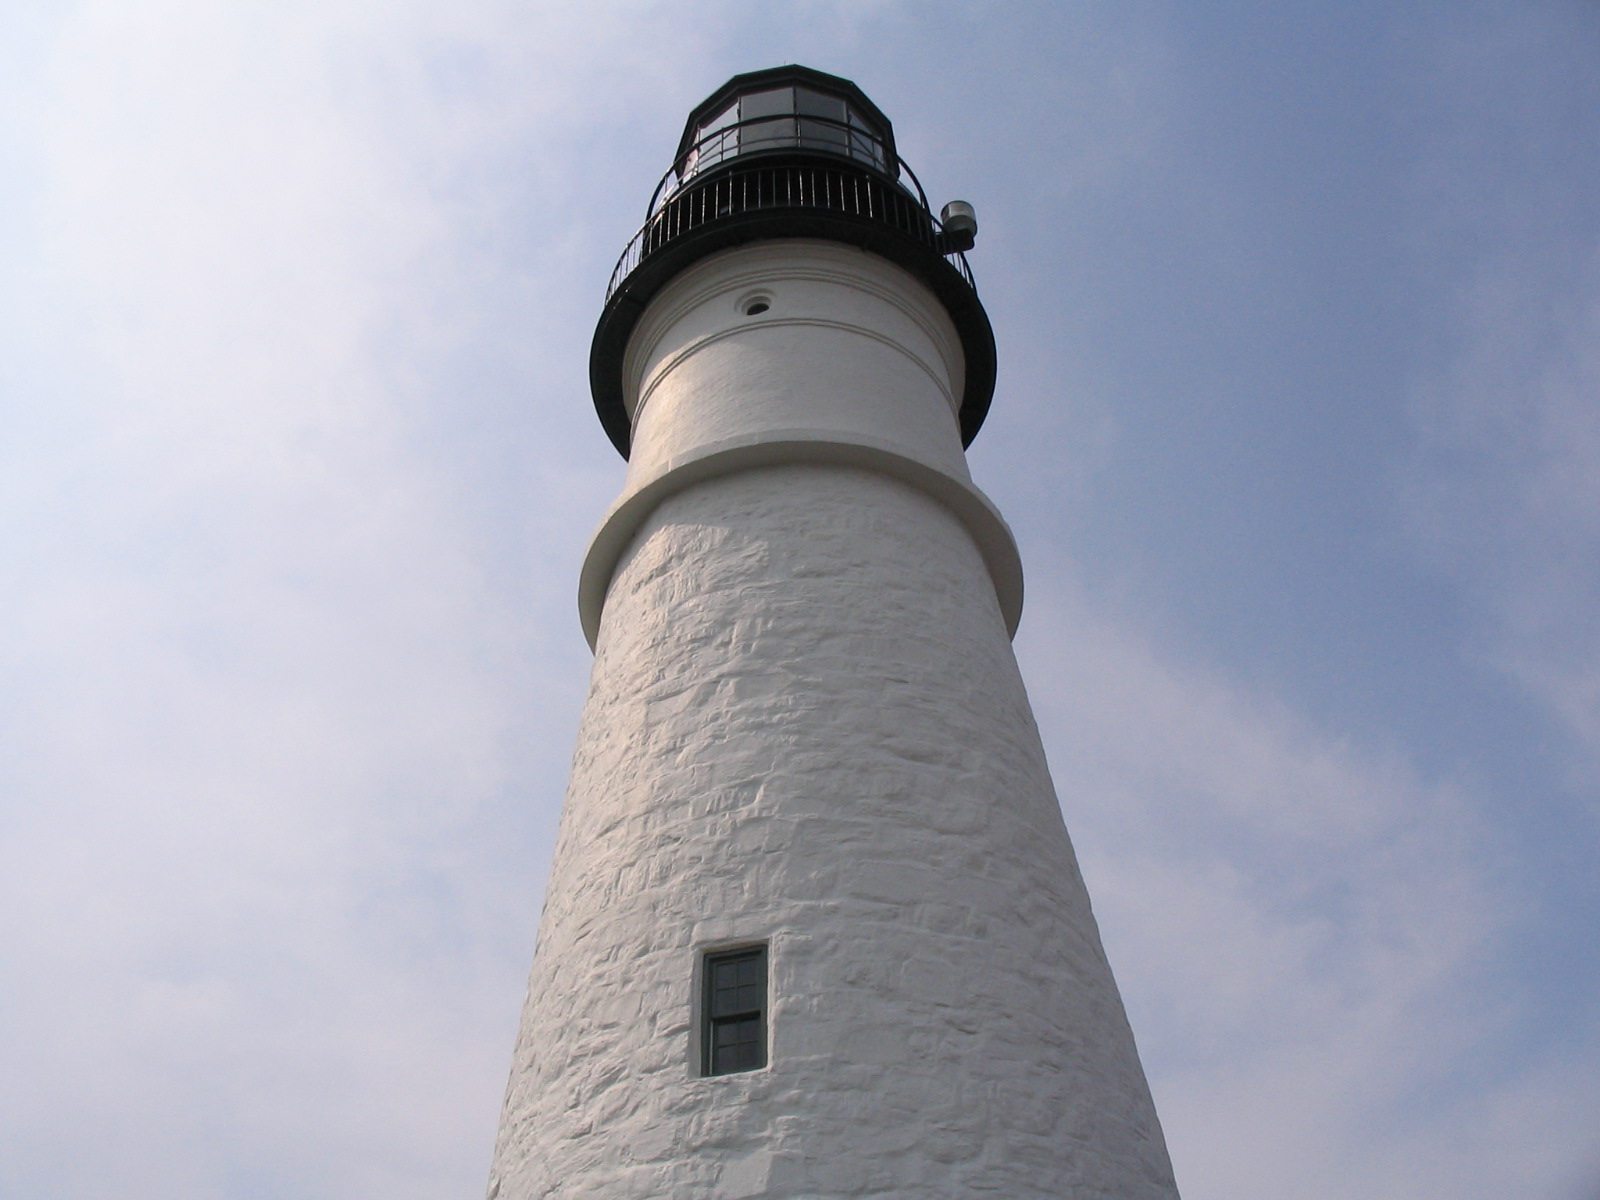
So another place my family loves to weekend "travel" to is Maine! This is the Portland Head lighthouse (just outside of Portland, ME in Cape Elizabeth) that I took as a centered full frame photo for 'dramatic' effect. Since taking this photo (and starting this class) I'm sure there is about a dozen different ways to take this shot with even more flare...but workign with what I've got I took it to task in PS.
Some careful use of the magnetic lasso allowed me to apply filters to the Lighthouse, then by inversing the selcetion, the sky around the shot. I must have spent half an hour trying different combinations before choosing the 'neon glow' effect for the sky contrasted with a soft application of 'watercolor' for the lighthouse.
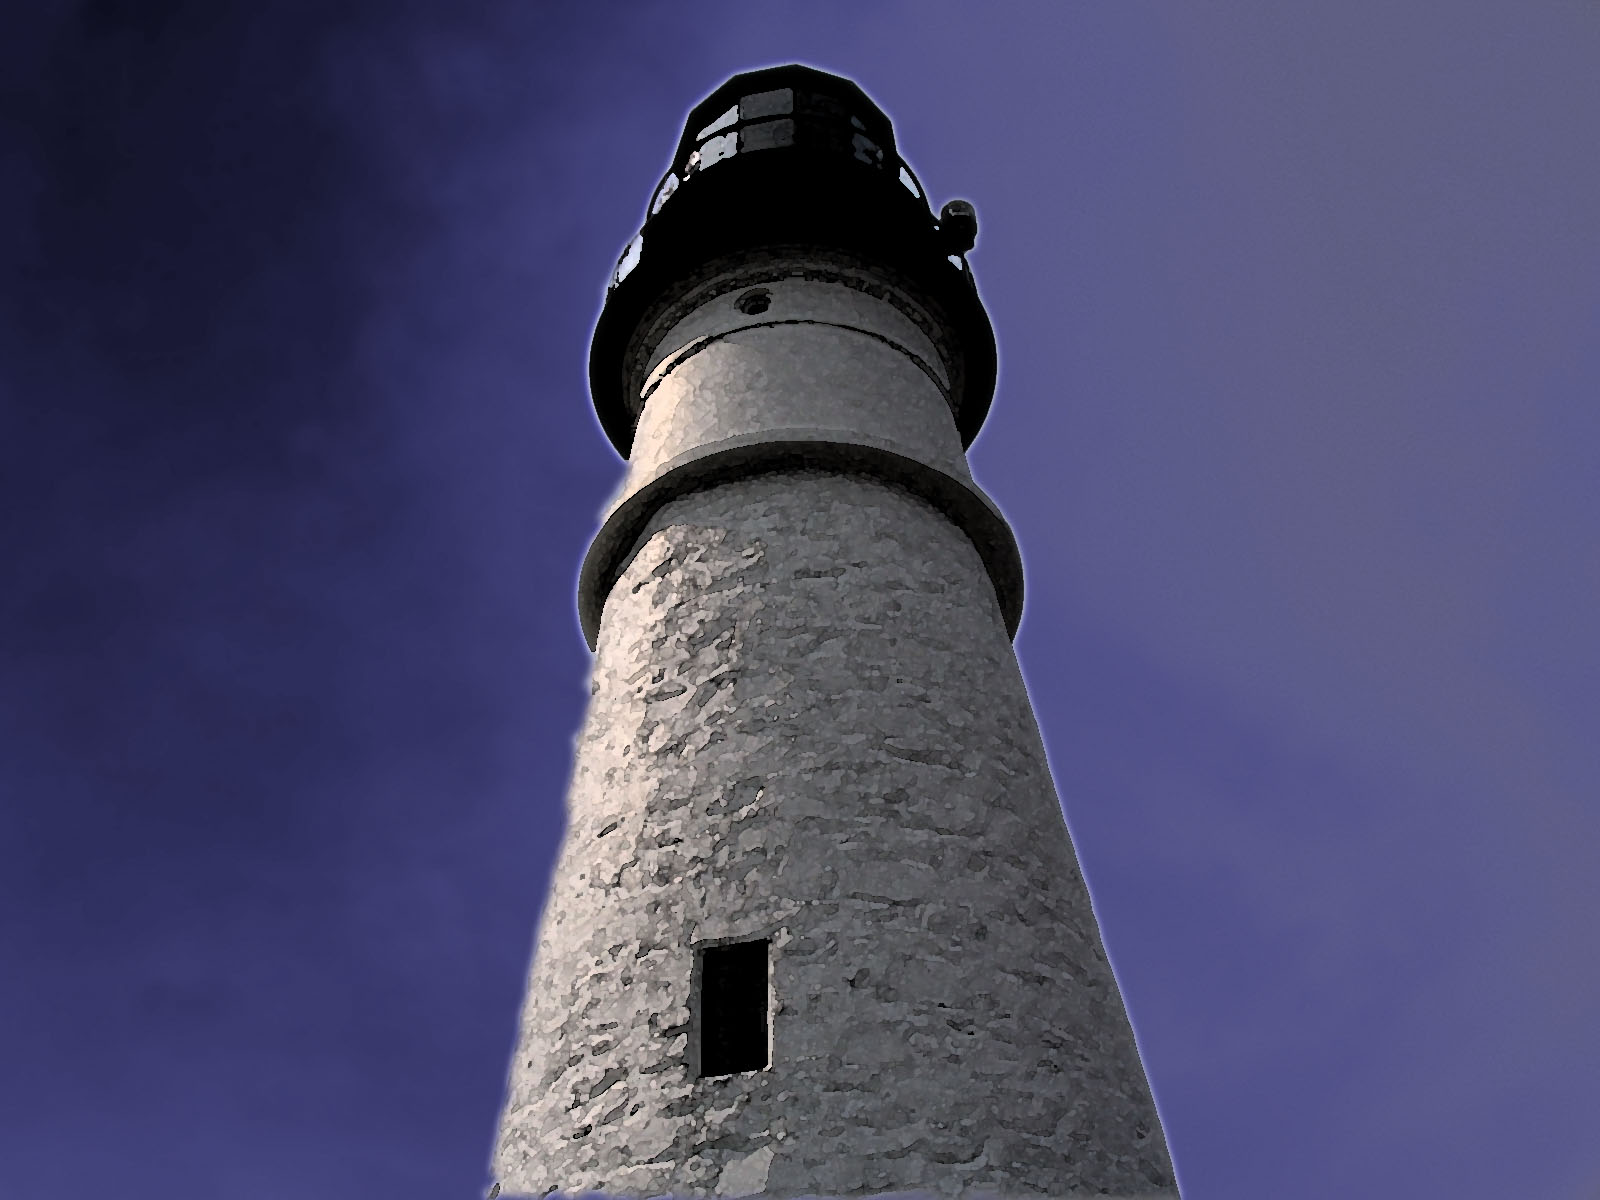
Bold and beautiful, different and intersting! I just thought I would share my fun with you...
Murph
Friday, March 26, 2010
Dodging and burning, AND filters!

I took a tour of Fenway Park and was lucky enough to get to sit in THE t.v. booth of Remy and Orsillo (those of you who are faithful Boston fans will know them as the Rem-Dog and Don). While seated, my wonderful wife snapped this picture of me gazing longingly out to the field...I've now taken it over to PS for some funtime editing!
Below I've worked the 'full meal deal' on the original photo. I balanced the color, bumped up the saturation a tad, then set to work playing with filters! I put a different filter in each window pane (magnetic lasso each selection, open the filters menu, and plug in your selection) upper left is Artistic-Fresco, upper right is Stylize-Glowing edges, lower left-Sketch-Chalk&Charcoal, and lower right is Texture-Stained Glass! I then used the overlay method of dodge and burn to take out some of the glare from my dome and lighten up around the desk (very minor touch on the lighten). I merged the layers down and saved as the new JPEG below:
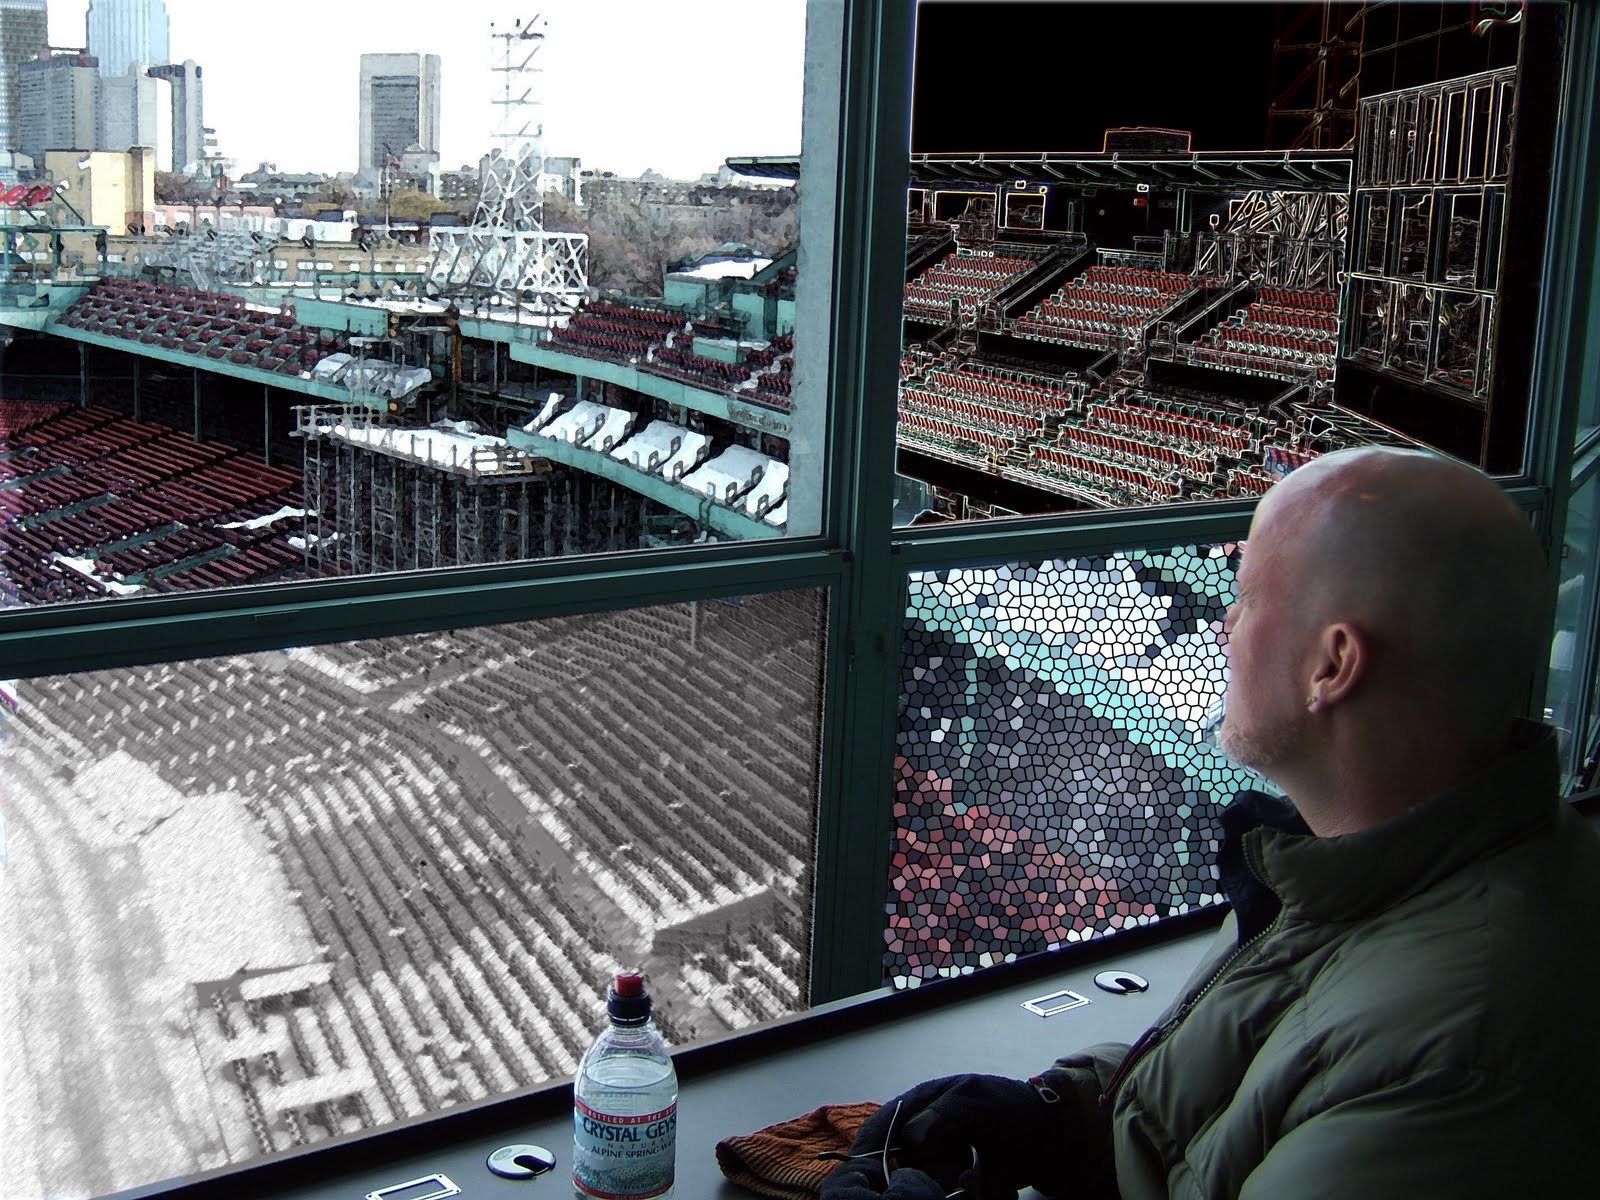
Check me out! I'm calling a real trippy ball game in Fenway!
Murph =)
Wednesday, March 24, 2010
Dodging and burning...

Above we have a nice picture taken indoors at Legal Seafoods in Boston. It is cute (well my wife is anyways ;) but rather washed out in the foreground and a bit dark and gloomy in the background (love me some flashburn). So off to try my new digital photo editing skill of dodging and burning (I used the gray scale layer technique taught in this week's learning unit).

LOOK! We now have a more 'natural' skin tones and the dark and gloomy background is bright enough to offer interest, but not so bright as to distract from the "portrait" moment!
Does anyone else find themselves taking more of their pictures to task in photoshop now that we are learning skills than before? I used to think my digital point and shoot took "ok" pictures, but I'm learning there can be SO much more...
Loving this class! Murph =)
Monday, March 22, 2010
Little Andrew mosaic!

This mosaic program is pretty neat! I would need to play around with it much longer I think to get the 'tile' selection process done better, but I think the original image can still be seen in the end product. Very Cool!

Murph =)
Friday, March 19, 2010
Which gates are you looking for?

I couldn't let my fellow students have ALL of the fun, plus here I could string a few techniques together. I adjusted the color levels, saturation, applied my new friend the magnetic lasso so I could adjust the saturation of the doors, used the regular lasso to free form some 'flames' which I filled in with an orange color for effect, then smudged around the flames for a slight 'smokey' dance, then posted some text above the doors! Watch those steps downward...

This program is making it fun to edit photos!
Murph =)
Wasted pictures? No more!!

Have you ever tried to capture that 'sweet' moment of your child (mine is the boy child) only to think, "Damn, the lighting was sure bad there"? Well this week in photoshop I've learned it doesn't have to be a wasted moment! The above picture was a 'framing' shot I used earlier, but with my new color editing skills, I thought I'd try to make it more 'natural'. I first tried auto correcting the color level, but it was still to blue...so back to adjusting the individual layers until I liked what I was looking at. The on to the saturation and lighting adjustments (to make slight adjustments) to help the picture look just "so". I think the end result is a picture you could 'keep' instead of 'heap'!

Photoshop gave this old photo a new look!
Murph =)
Tuesday, March 16, 2010
Color and saturation fun!

So sometimes you just "have to" do the tourist thing right? This is a shot taken from the top of the Prudential tower from the Skywalk Observation deck. This photo really captured me at first with the way the high rise in the center of the photo almost disappeared. When I was reading about level and saturation adjustments, I thought of editing this picture!
So below is the first adjustment. I opened the picture, selected the 'level' layer adjustment window and went to town. I first used the auto correct function, but the image still didn't "feel" right so I manually adjusted the individual channels until I was happy with the changes (this is also a great way to learn what the changes do!). Voila!

I opened my saved "levels" adjusted picture and moved on to the saturation layer. I examined what would happen when I moved the slider from one end to the other and finally settled on a +20 adjustment that really pleased my eye:

Now my photo looks totally different from the first one! Man...I could get used to these tools and the way they can take a 'nice' picture to a 'wow' picture!
Murph =)
Monday, March 15, 2010
Cleaning up my act a little...
Or possibly known as Sam Adams - Part Duex:
Cleaner, tighter, and more fun than ever! I'm still trying to figure this PS thing out, but as Kevin commented in another blog, it takes practice and more practice.
What do you think of this try? Here I used the magnetic lasso to help keep the lines crisp and clean. The after pasting the copied image into its location, adjusted perspective, size, and slight rotation change to do my best and cover the image underneath. Someday I will figure out how to remove the old image and bring up the new image from underneath...off to play around some more!
Murph
Still learning, but at least I'm having fun!


I decided to work with my two hamster children from above to 'form' a new 50's cover group (ha, ha!). After reading about the tools and techniques many of you were doing/using over the weekend, I set in to create. I used the lasso tool (with the feather set at 4, thank you who ever posted that tip for me-was it Jeremy?), copied my selected image, and moved it into the second picture. In the second image I used the eraser to clean up any edges that weren't as 'sharp' as I wanted, then merged my layers down until I had my new image and new band! Check them out below:
Aren't they great?? LOL! This is getting a bit better and I'm starting to have more fun...
Thanks for all the great posts you all, it really helps inspire me to create more!
Murph
Friday, March 12, 2010
The bait and switch...


I tried a variety of tools this time! Marquee, move, lasso, eraser, and paint brush...all used to create the illusion of switching places with Sam Adams outside of Quincy Market/Fanuel Hall. I'm still shaky with this system- here's a tip: take regular clicks as you erase or paint, that way if you don't like what you just did when you undo, you don't loose as much work! (Learned the hard way I might add)
This is starting to be kind of fun...I'm off to write two essay exams, if I can I will post more this weekend...Monday at the latest! Have fun with your photos everyone!
Murph =)
The network may be down, but the blog rolls on...

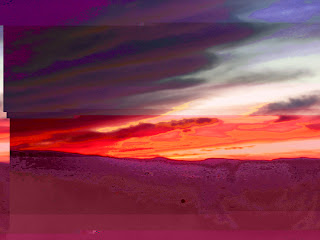
Aaarrggghhhh,
(Murphy throws his hands up and laughs) Ok- photo editing wins round one...I played with the magic wand and tried making an average sunset photo, well, interesting. I adjusted several sections of hue, saturation, and lighting...I was going for a 3D type effect. Last night it looked kind of cool (after considerable time investment), put today as I post it here in my blog, it looks yucky!
Back to the drawing board with some more attempts...wish me luck!
**Sigh** Murph
12:15pm Update...I think I've figured part of it out! I played with the 'lighting' too much! I won't be able to fix it with this picture, but maybe I can step it up going forward...(don't change the lighting on multiple planes, don't change the lighting on multiple planes...LOL!)
Friday, March 5, 2010
Landscapes...
Man! Is everyone else's landscapes turning as brown and uninteresting as mine is? Here are some different landscape perspectives I've taken this week. In this first photo, I wanted to show my brown, melting, uninteresting world in a different perspective incorporating the framing technique to try and 'perk' it up. Blah...brown and still gross.
Thank you light! At least here I was able to capture last night's fading kiss in a more classic Vermont scene (even as the field below is blotchy and melting...) and the natural color offers you SOMETHING to look at.

I had to return to the High School after the framing photo I took with the goal posts. I knew I wanted to take this landscape shot that would let me play off the 'Lyndon' hedges and provide a 'landscape' shot of the front of the school. After all what is 'natural' anyways...

Which leads me to the 'concrete jungle' landscape! I cannot believe that this shot was captured out of the front windshield of my car...point and pray style! I think the blue of a Winter sky seems deeper and more complex...maybe it's because we don't get to see it very often! I hoped that I could apply the 'rule of thirds' quick enough to capture this shot. How did I do?
Murph
Monday, March 1, 2010
Friday, February 26, 2010
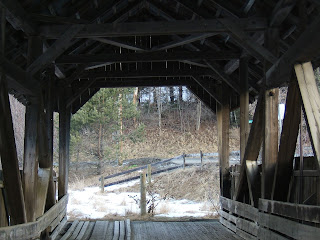
Some views in 'thirds'...
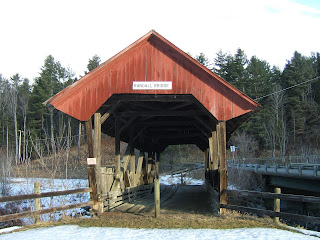
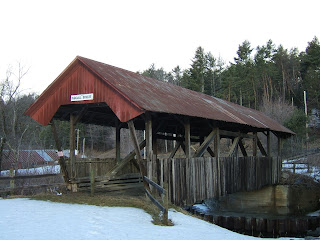
I am really enjoying trying out this concept! Above you can see one of our classic covered bridges. The opening shot is straight on and centered, and I think it captures NONE of the true essence of a covered bridge! By changing my perspective a tad and moving the opening of the bridge off to one of the 'thirds' lines I hope I captured more of why we love these wonderful pieces of the past!
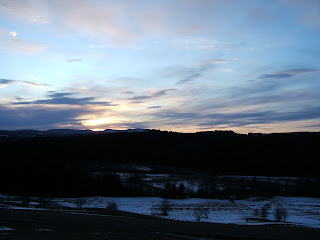
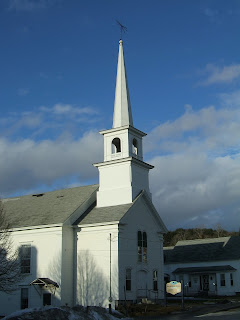
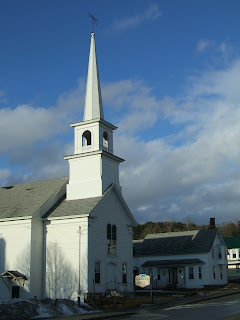
Below I celebrated a brief bit of this morning's sun to take another picture of a New England standard, the crisp white church. In the first photo the steeple is centered in the middle, which does draw the eye in for a solid focus, but in the second photo I tried to move the steeple off a bit to the left allowing the camera to capture a bit 'more' of the scene giving it a more complete feel (to my eye anyway).
Hope you enjoy today, and avoid the wind!
Murph
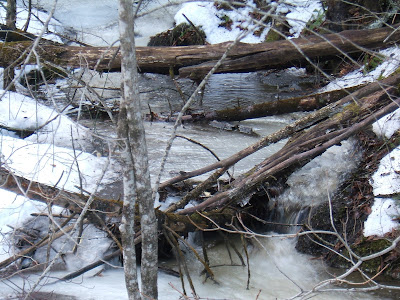
The frozen waterfall/stream awakens...

Subscribe to:
Posts (Atom)
